
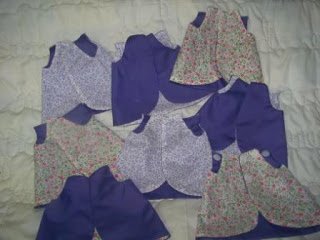
After a few weeks of wearing a diaper only, Caki was finally able to handle being touched and we visited to see our little darling wearing a tiny little handmade cotton gown! I remember crying because she finally seemed human. We had held our breath for weeks before her birth in prayer that she could hold on until birth. Then we held our breath in prayer that she would respond to the highly sophisticated neonatal care that Women’s and Children’s provided. The afternoon that we saw her for the first time dressed in a little shirt was, for me, the turning point of our ordeal. Although we had prayed for her, visited, snapped photos and stood looking at her tiny little hands, her small limbs and torso, it all seemed very dream-like.
On my second visit after seeing her dressed, I asked a nurse to let me copy a pattern from one of the gowns. She was extremely helpful, finding a pen and some paper, then handing me a gown so small that I was able to draw the pattern onto one sheet of 8 1/2 x 11 piece of paper. I made a few little shirts and dropped them off a week or so later. Since then, I’ve donated a couple of packages. It’s not a great deal, I am aware. But I think about the mothers and grandmothers who see their babies in tiny diapers, backs and stomachs exposed, and remember the feeling and emotion I felt when I saw Caki dressed in her little preemie shirt. And I think about how I can help just a little every now and then. I pull fabric from my stash and zip a few together and say a prayer for each child who will wear the little shirts I’ve made.
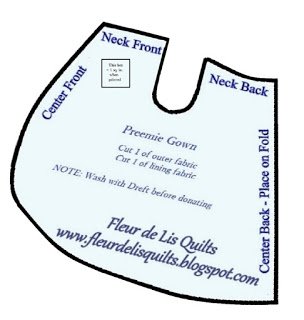
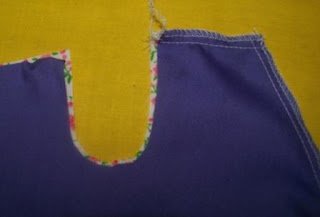
Now that you have a pattern, you’re ready to begin. Print your pattern at 100%. It will fill one sheet of copy paper. Here are step-by-step directions and photos to help you visualize each step.
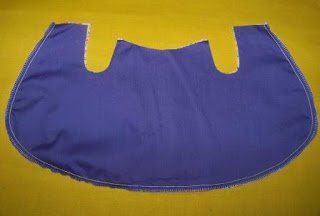
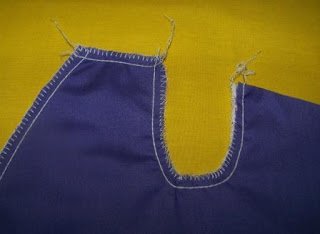


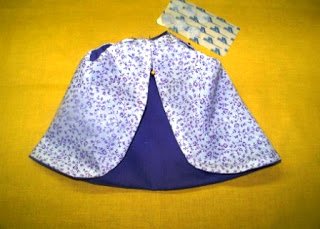

I like to cut out several gowns and keep them in a basket on the work table for fast, easy projects when I want a little mindless sewing. Also, you can use the adhesive hook and loop tape, but I find it gums up my needle. These babies are in climate-controlled environs, so any cotton fabric will do. I like thin cottons, such as calico and muslin, because once washed, they are very soft.
Remember to wash your little NICU gowns in Dreft before donating them to your favorite NICU center.