Last week I announced in this post that I will host a BOM using improv. Admittedly, I was a bit vague and didn’t tell you the plan. So today let’s knock out a bit of what’s going on in my head.
Firstly, I’ll treat this BOM as I would a class–beginning at the beginning and giving you directions. Now, this is an improv class. Teaching improv is a little like teaching someone to think: difficult. You have to do something of your own. Otherwise, you’re just sort of copying what I’ve designed. Of course, that’s okay, too. You’ll still learn some techniques!
So, how will this go? I’ll give you information about a concept that I use for creating pieces. It will be a pattern of sorts, but without detailed sizes. So no “cut six patches 3X5” kind of thing. It’s more like “cut six to eight rectangular pieces. Mine range between 3X5 and 4X6.”
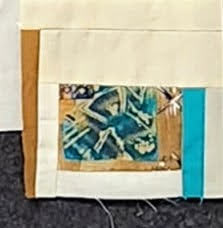
One piece of my focus fabric with khaki and teal.
There will be some “make this, then slice it to make this other thing. Here’s what mine looks like before slicing, and here is what it looks like after putting it back together this way.” (I know, but you’ll love it later.)
Also, when possible, I’ll refer back to traditional blocks so that if you’ve made something similar, you’ll have an idea of what I mean. So I may say, chain piece the way you would a log cabin. I will say with HST. And I love to make what I call “scramble pieces.” (Some improv teachers call it “making fabric.”) They are simply pieces of fabric sewn together until I have something big enough to put into the quilt.
How big is big enough? Well, I find that when I work in improv, my blocks all seem to end up about 12 inches, so maybe 10×12 or 12×14 or some variation of that. Rarely do I stop at, say, 7-8 inches or go beyond 12-14 inches. It’s kind of like a fingerprint or handwriting. I have my own improv signature, just as we all have our own quilting signature. Those “blocks” end up being sewn together (in a variety of ways) to create the whole quilt.
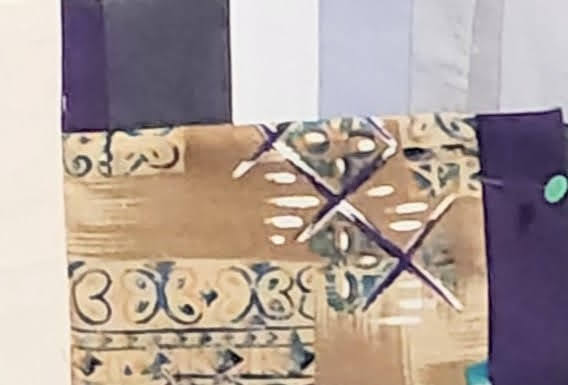
Another shot of a focus fabric piece, though the purples look very dark.
I hope you’re still with me! If so, start thinking about colors and fabrics. For the quilt on my wall right now, I found an old fabric that has a few of my favor colors in it: a mustardy khaki with royal purple, teal and blue. I started with those colors.
So begin by choosing a print that you L-O-V-E love because you’ll be working with it for most of the year. I would like to end in October. To do this, we’ll learn one concept and perhaps two or three ways to apply it. Then you’ll make however many pieces you want to make. The more you make, the larger your quilt will be. If you hate a concept, make fewer. But learn it anyway and make a few pieces. I believe strongly in starting easy and moving forward by building on what we learn.
What else? I can’t think of anything at the moment, but you probably have. You can leave a comment here or shoot me an email at info@marymarcotte.com. I promise I read it all!
2 thoughts on “Improv Block of the Month — The Plan”
Sandy
This sounds a little scary! But I’ll try. What happens if you give directions and I don’t understand? Or I follow directions and my stuff is completely different from yours? Then what??
Sometimes a little scary is a good thing. It means you’re pushing yourself to try something challenging. If you don’t understand, all you need to do is ask. I’m right here. And so what if your block doesn’t look like my piece? If you love it anyway, wonderful…toss it in the quilt. Ya hate it?! So, let’s try something different. Don’t get rid of this one, though. There are ways to work through something that’s just not right for you (at this time) and I’ll show you some of those as we go. If you have a piece you hate, you’ll be ahead of the game later on.