

Hello again! I am so happy that you’ve decided to join me in this little adventure! Here are more ways you can be part of the conversation: 1. leave a comment on this post, 2. join and share photos with the Facebook group here, 3. sign up for early access here 4. grab a badge for your social media here, 5. post to Instagram using the hashtag: #improvbom24
Now, do you want to use up some of those strips that have been holed up in your stash? Chances are they are all 2 1/2″ strips, but we’re going to fix that. The precut strips in this quilt are from two bundles of solids. I pulled the ones that are in the same color families as my quilt: red, pink, green. They don’t match the focus fabric as well as the yardage that I pulled. However, I like the scrappy-but-not-too-scrappy feel that this brings to the quilt. (If you are a Type A person and need fabric colors to match perfectly, cut strips from your yardage.) I didn’t have enough precuts and scraps, so hadI cut into my yardage.

The blocks we’ll make this month can stand alone in a quilt, like a rail fence block, and we will use them in basically the same way. You, of course, make the decision about how you want to set them in the row. Remember that I’m making two quilts? In one of my quilts, the strip blocks will form a rail fence row (see above), I started playing with white strips and decided I like them enough to use white to separate the blocks. You can do the same–play with the blocks: rearrange them, add color, cut them at angles, or anything else you can think of. It’s your quilt, after all.
Let’s get started!
- Decisions to make: Which strips will you use? Where can you source strips?
- Rotary cutting Cut fabrics in widths starting with 1 1/2″ width and adding increments up to 2″. Cut some, but not all, of the 2 1/2″ strips in half to make them 1 1/4″.
- Yardage/fat quarters: I’m using fat quarters so I’m cutting everything that length, which is 22″. Quick Tip: I like to stack four pieces of fabric together, matching one edge as closely as possible. I press the four pieces and straighten the edge by cutting with the rotary cutter and ruler. Then I cut strips as normal.
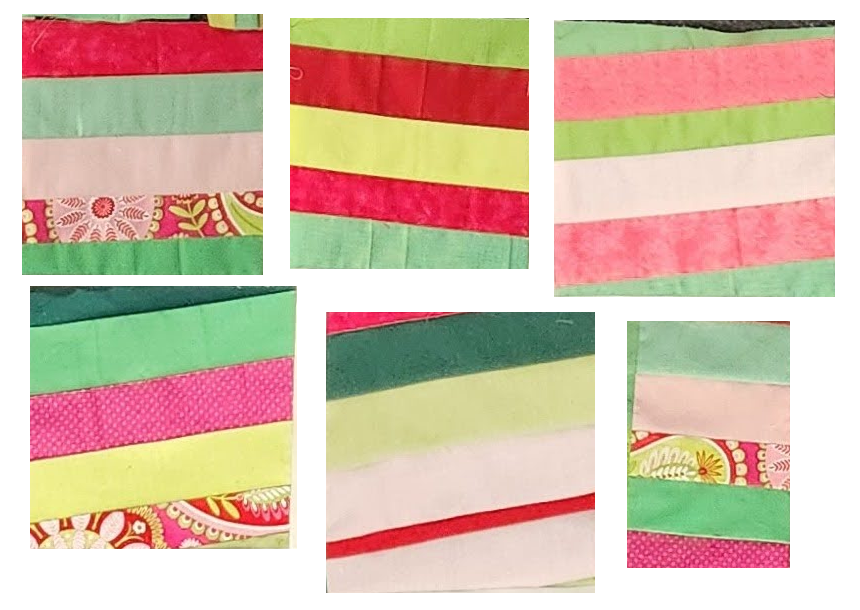
- Strip piecing: (See photo 1 above) Sew the strips together randomly. Try to mix up widths, colors, and fabrics but don’t worry about two shades of the same color next to each other. Quick Tip: Because seams don’t overlap, I sew up everything into blocks of 4-6 strips before taking the bundle to the iron for pressing.
- Pressing: Pressing the seams in one direction makes sewing them together much easier. Later we’ll use some of these blocks to create other types of blocks. That’s when the one-direction pressing will really pay off.
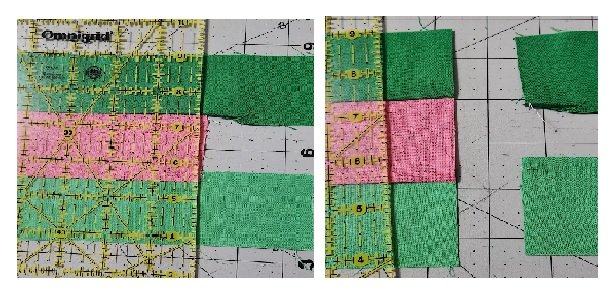
- Recutting: Trim the blocks to straighten.
- Finishing: Determine the block size you tend to gravitate to. For example, I generally sew five or six strips together but somehow the blocks tend to be about 8 to 10 inches in width. You could say it’s my signature. Try to figure out your signature because it helps in matching blocks. If you know your rhythm, everything becomes easier as you work on your quilt. Make extra January and February blocks so you’ll have choices in the coming months when we use them to make different blocks.
More on Strip Piecing
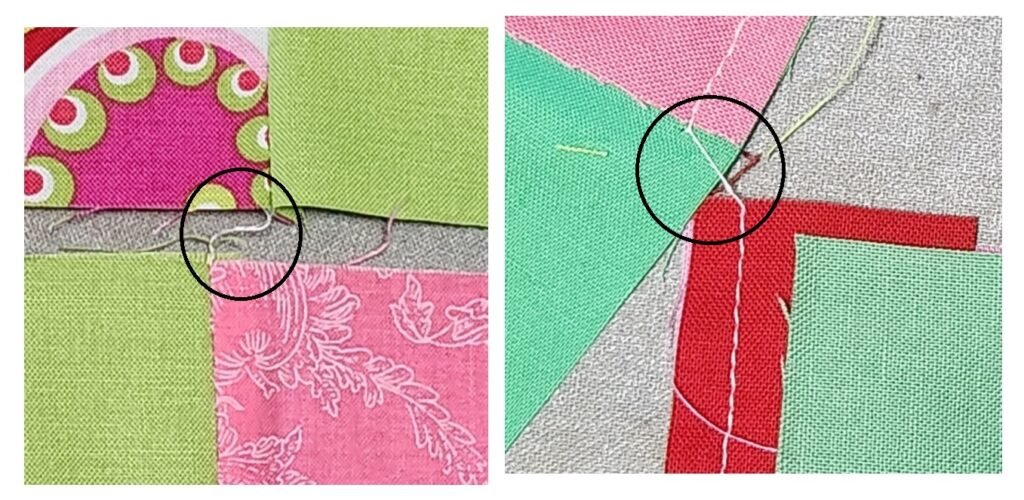
Quite often the fabrics are not exactly the same length, but you have a couple of options for handling this. One option is to ignore this until recutting, then toss the cut-offs into the scrap pile and resew. (See photo 2)

A second option, which works especially well if one strip is much longer than the other, is to sew the edges of the short strips together, making one continuous strip. Then match it to another long strip. You can see that I did this with the two green strips in photo 3. It does not matter that one piece is light and the other dark. In fact, I don’t worry if they are completely different colors. My goal is to make one long strip.

Finally, a third option is to sew the two strips together until you run out of the shorter one. At that time, slide another strip under your presser foot and continue sewing. (See photo 4) Later you’ll cut the long strip where the two short ones meet.
This exercise is probably one of the easiest in this BOM: I have no doubt you’ll get it. Sew as many pieces as your heart desires. Then sew a few more. We’ll use one or two of these later to make a different block. One of my quilts will likely have a border of strips, called piano keys, to make it a little bigger. That will require many, many of these blocks! Want to sew a few for me?
Remember that you can leave questions and suggestions in the comments section or email me at info@marymarcotte.com. If you post anything to Instagram, please add the hashtag #improvbom24.
Other pages you might find helpful:
January Block Scrambles
Choosing Fabrics
Directions Definitions
Grab a Badge

Great lesson Mary. I am enjoying this improv class and can’t believe you’re not charging anything at all! Thank you!!!
You are so very welcome! All the fun I’m having is pretty good payment. Plus, I get to meet some interesting quilters and learn right along with you.
I will be participating in this group. I really enjoyed the meeting today. Looking forward to learning from you.
I am looking forward to having you, Juanita! I’m having a grand time and hope you do, too. I’m really excited to see what everyone creates.