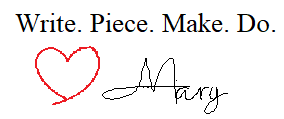
This DIY is from 2015. I can’t believe that I refinished this table and it’s still sitting next to my recliner. I use it daily. Here we go: Richard and I got this table from a second-hand store. I fell in love with it because it’s an old school table. I mean, really why bother to question whether to take it home? It’s old, and it was made for school. Enough for me!
It’s such a nice little table that I really wanted to use it as an office desk for when I grade papers. Rich did quite a bit of work sanding it down and cleaning it up. Then he added a shelf under the table to double the surface space. I decided that I needed the shelf about halfway down the legs and Rich agreed because the legs needed stabilizing.
The little drawer is just the right size to hold pens and a journal and the little shelf that slides out can hold a small stack of papers if I need more space. I added a pretty glass knob to the drawer because the old knob was missing.
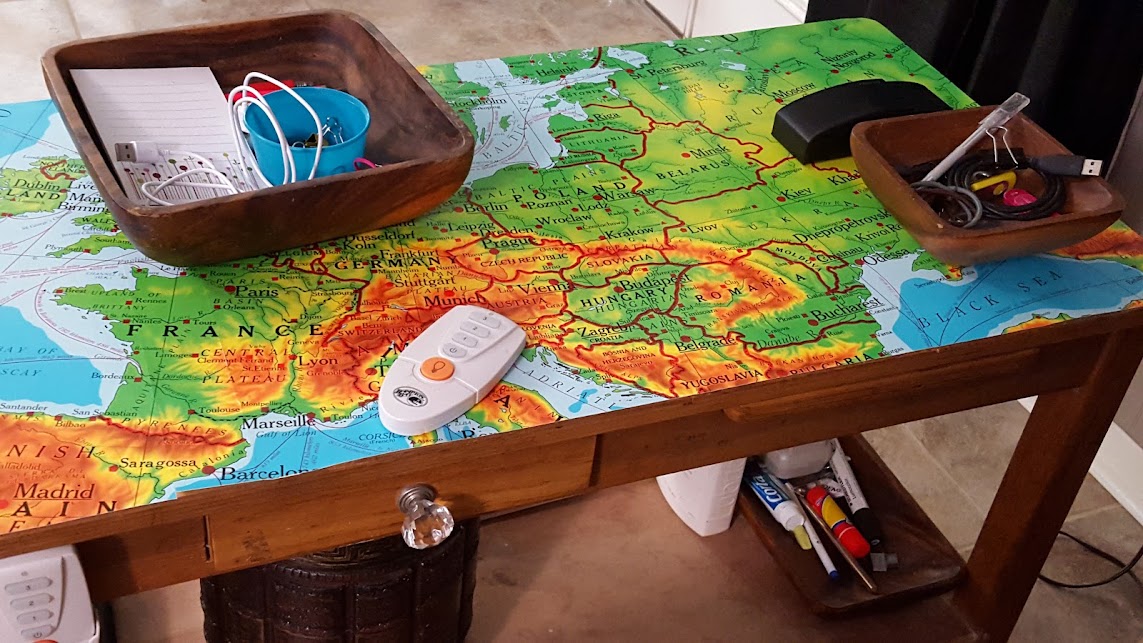
Adding the map to the table-top was easy. I gathered up a few supplies: tape measure, scissors, craft knife, rotary cutter and rulers, decoupage glue and a sponge brush. The map is from a wall atlas that Rich got long ago. I think he wants to eventually display it in his shed, but one of the pages was torn, so I cut it out to use on the table.
After measuring the table (18 x 34) I found a section of the torn page that was large enough to get one whole piece and cut out the section to 19 x 35.

Luckily the tear was to one side of the page so I was able to make sure the piece was straight, but I was willing to have an angled map, if necessary.
After clearing off the tabletop and scrubbing it clean, I spread a generous amount of decoupage glue on. I poured it out of the jar and spread it using the sponge brush. Spread it quickly so that it doesn’t dry out before you get the map down.
Put the map down and adjust it so that it’s straight. It can be moved by lifting, but I found that because my map has a vinyl coating, it was easier to slide it around to make adjustments. I used the edge of a book to push out the air. Press hard, beginning in the center of the table and push to the edges.

Then stack books around the edges of the table and in the center. I left the books for a full day so the glue could dry.
Next, I used the craft knife to follow the edge of the table and cut off the excess map paper. I had a few spots along one edge that did not stick well, so I used a small sponge brush to push glue into the space and stacked books again to hold the edges down.
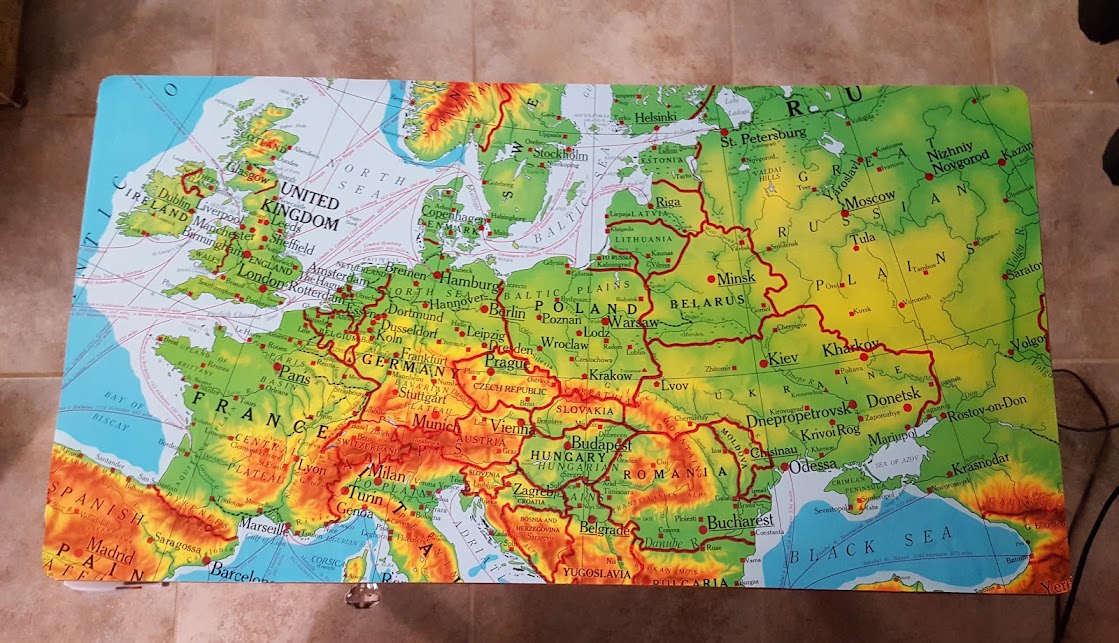
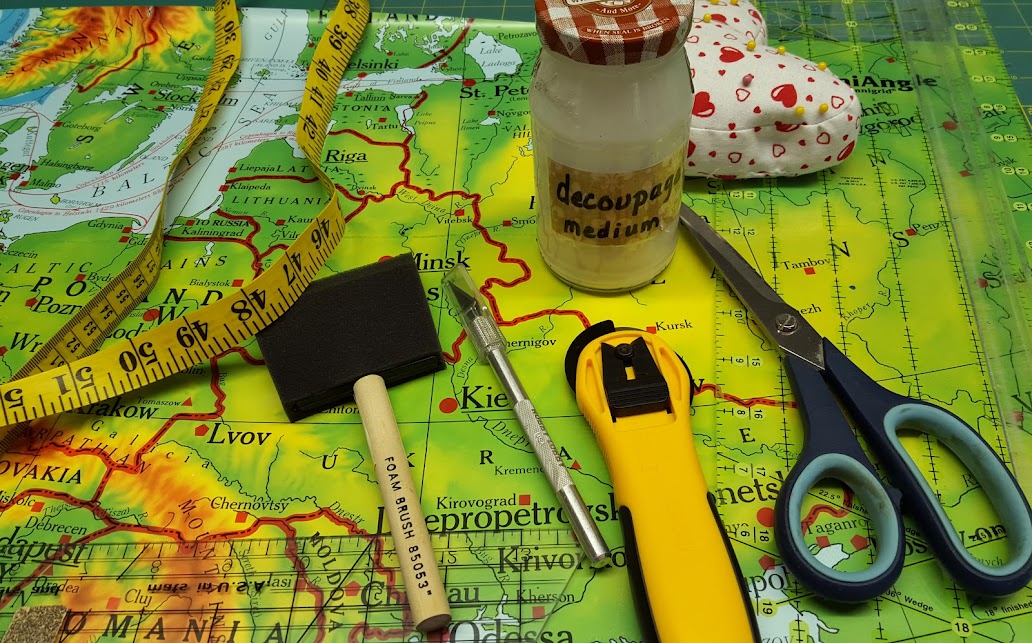
Because my map has a vinyl coating, I’ve decided to leave it as it is: it’s very easy to wipe clean with a damp cloth. Otherwise, I’d seal it with either the decoupage glue or a sealant. However, I plan to keep an eye on it so that if it begins to wear too quickly, I’ll definitely add a sealer.
And to update this DIY: not only is the table still in use, the map looks pretty good. Of course, after five years, it is beginning to show some wear. I’ve considered removing the map and recovering it with something else. I just can’t seem to settle on what I’d use.