If you want to learn improv, I highly recommend beginning with improv log cabin blocks. There are several reasons to begin here. One is that the log cabin is a basic, easy block. Another reason is that improv log cabins can be made in a variety of styles. Third, you can apply almost any straight-line improv technique. And lastly, I’m teaching a class! It’s going to be in Baton Rouge in the fall. You can find the Crazy Fun Log Cabin class here.
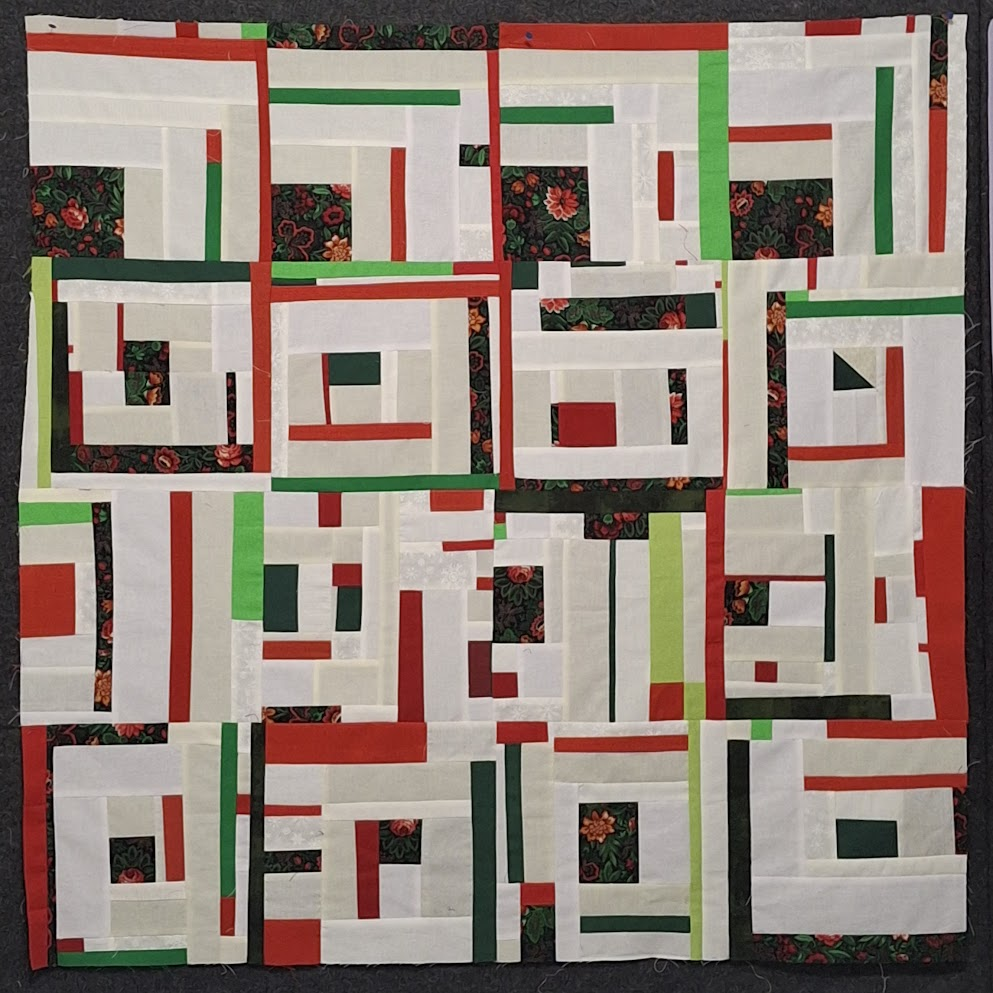
I need another class sample, and I wanted to make a Christmasy quilt. This project began Saturday, and the 40″ X 40″ top is complete. It’s only Tuesday, so four days! Yeah, that easy. I may toss it on the long arm tomorrow. If I can decide on a quilting theme that won’t bore me. Anyway, I thought you might be interested in the day-by-day process. Of course, choosing fabric is a good place to begin. A small piece of Christmas fabric needed only red, green, and white to coordinate.
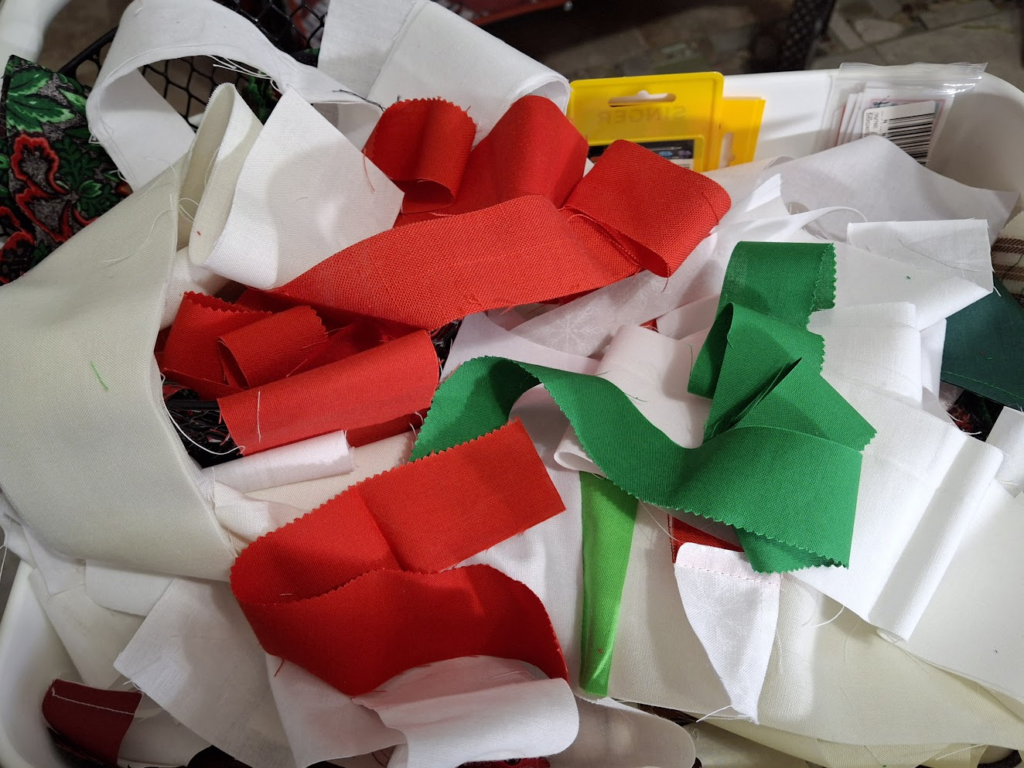
I started out looking for colors that would match the focus fabric but well, got sidetracked and quickly changed my mind about using only the colors in the focus fabric. No, instead… Any red, any green, any white. New improv parameters to include fun and give the poor quilt a chance at color. Plus, I wanted to use some scraps. So, solids only became the new and final parameter. Once that was settled, I started playing with strips. I used most of the techniques we used during the Improv Block of the Month
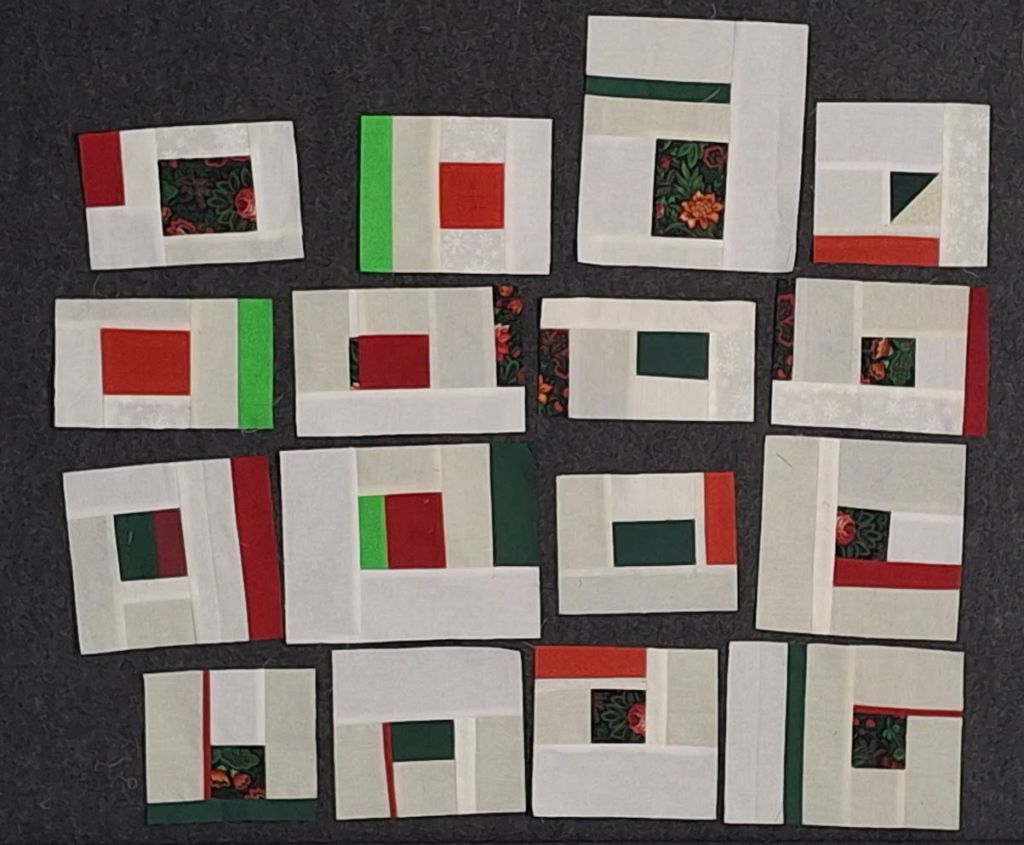
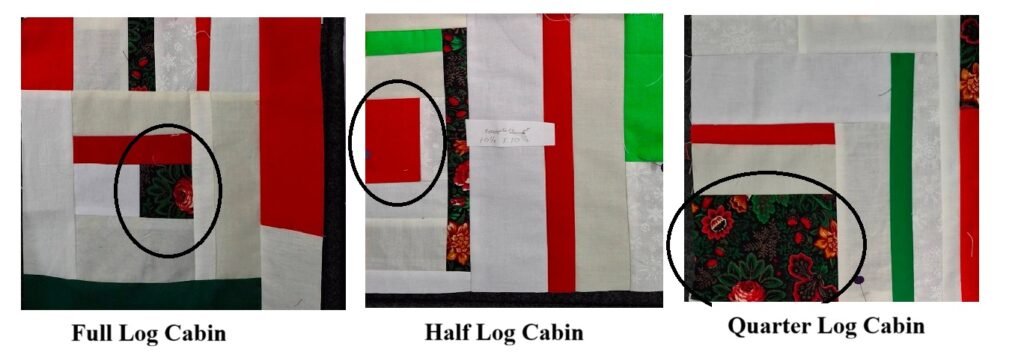
Day one gave me 16 blocks but, in the joy of sewing, I sewed full blocks. How silly. Nevertheless, I thought through the process to easily find a way to make the other blocks. For quarter blocks, I started over but quadrupled the center (or hearth patch). After making a fairly large block, I chopped it into four pieces. The only issue: all the centers are the exact same. Oh well. (See the final row in the next photo.)
Not being crazy about that and not wanting too many blocks (small is easier to pack and carry), I decided to cut one side off four of the original blocks. But I could have easily doubled the hearth size, made a large block and slice in half. Brilliant! Now, that’s what I intended from the beginning. And day two ended with this.
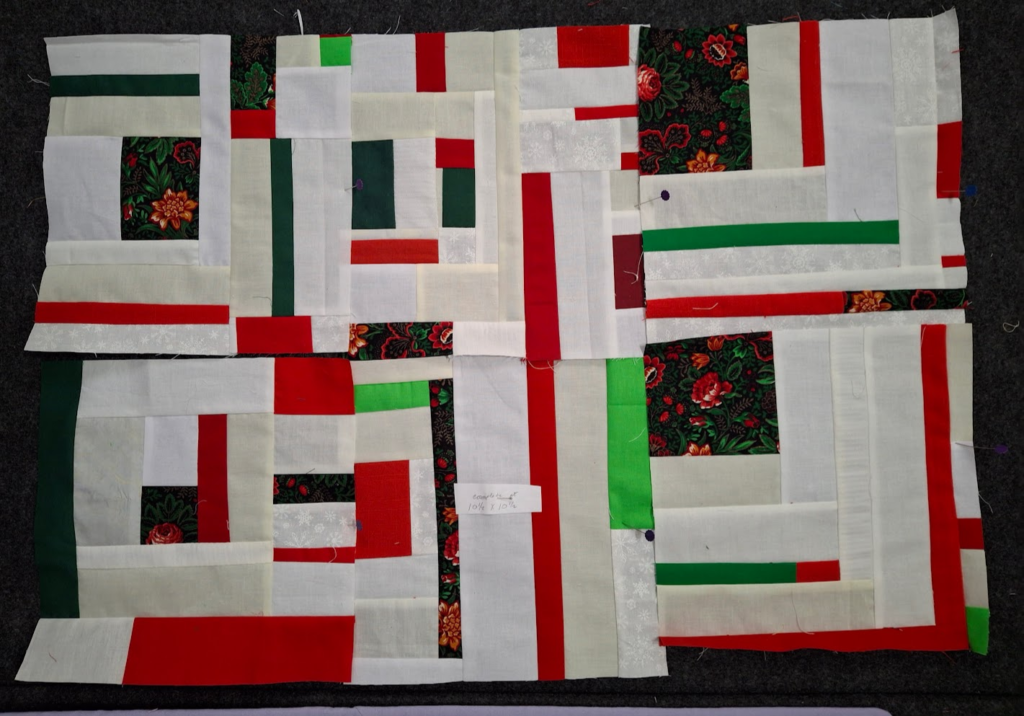
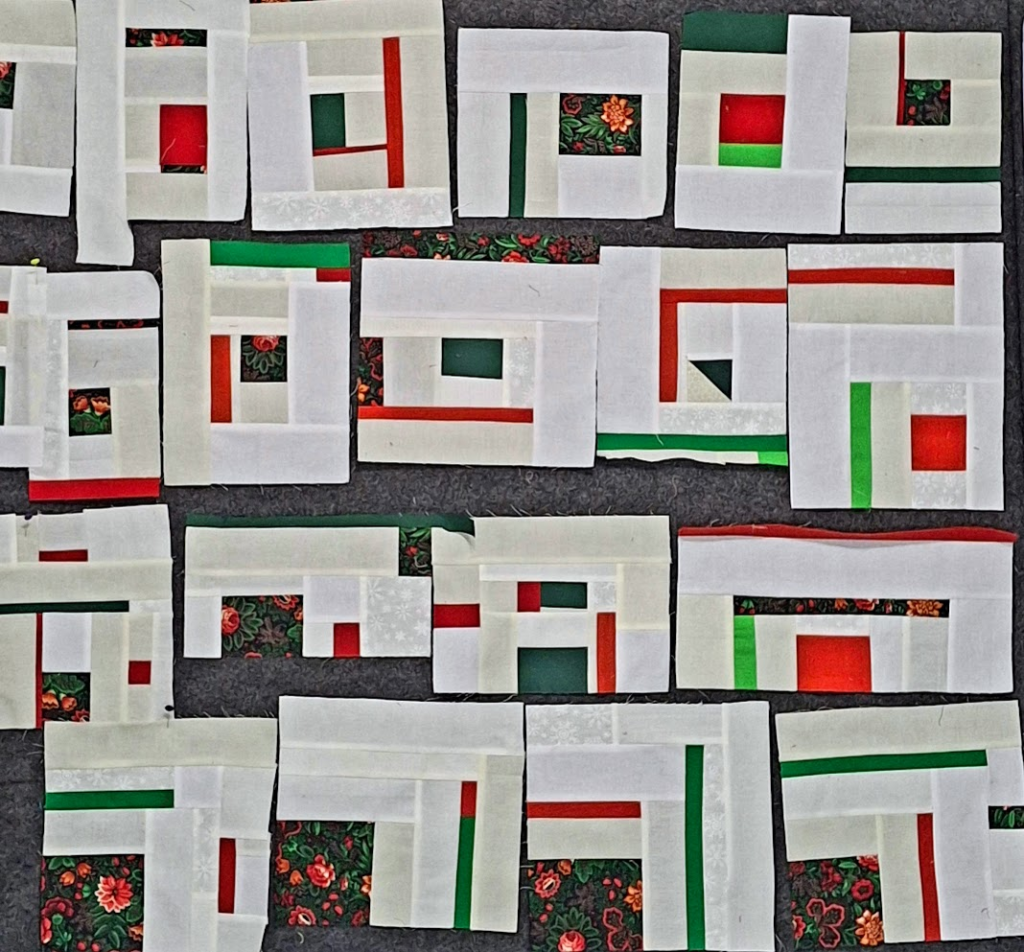
On day three I woke up this on the design wall: six complete blocks. It was just a matter of adding strips. Except. Remember that I wanted to use up some scraps? Well, it’s time to incorporate those. I sewed the smallest ones into short strips and sewed that onto longer strips. Adding a few more hues of red and green, really spruced the blocks up. I also cut strips of the focus fabric and scattered them around the pieces.

Six completed improv log cabin blocks on the design wall means ten improv log cabin blocks in the pile. But before walking away, I pressed and trimmed everything. I even added notes on most of them so I would know what to add the next day.
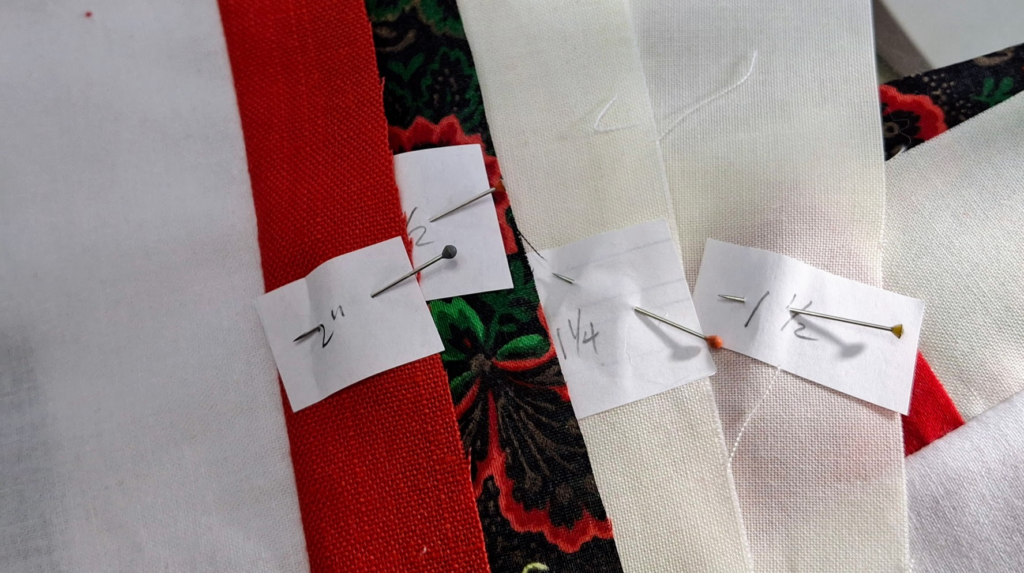
Yes, you read that right, trimmed. I am an improv quilter who believes that I purchased those rulers for a good reason. I also believe that straightening edges as you go is the key to a flatter, easier-to-quilt, quilt. I’m pretty good at “quilting out” problems, but why add when I can resolve? S0, as I trimmed off, I measured. Makes sense. Right? If so, add a slip of scrap paper with the width of the last strip on the block. Most of the blocks were close to being complete at 10 1/2″ square.
Day four: add those final strips and finish the blocks that were not at this stage. Quickly, I was ready to press and double-check my blocks so I could sew them into rows. It doesn’t take long when there are only 16 blocks. By midafternoon, I had a flimsy ready for the longarm. Today, Wednesday, I have two sick grandies to take to the doctor’s office and keep till momma gets here, so there won’t be any longarming. Tomorrow is another day, though.

In case you’re interested, I have a video on my YouTube channel on how to use pins with your rotary cutter here.

Thanks for all of the tips, Mary. I have wanted to learn about improv for a while now and this is where I’ll start!
Sharon